Guide
06 November 2024
Creating Your First Discord Bot: A Comprehensive Guide

Introduction
Discord bots are great tools for adding automated functions to servers, enhancing user experience, and even building communities. This guide will walk you through creating a simple weather bot that provides real-time weather information when prompted.
1. Creating a Discord Application and Bot in the Developer Portal
Before coding, you need to create a bot application on Discord's Developer Portal.
1.1 Creating a New Application
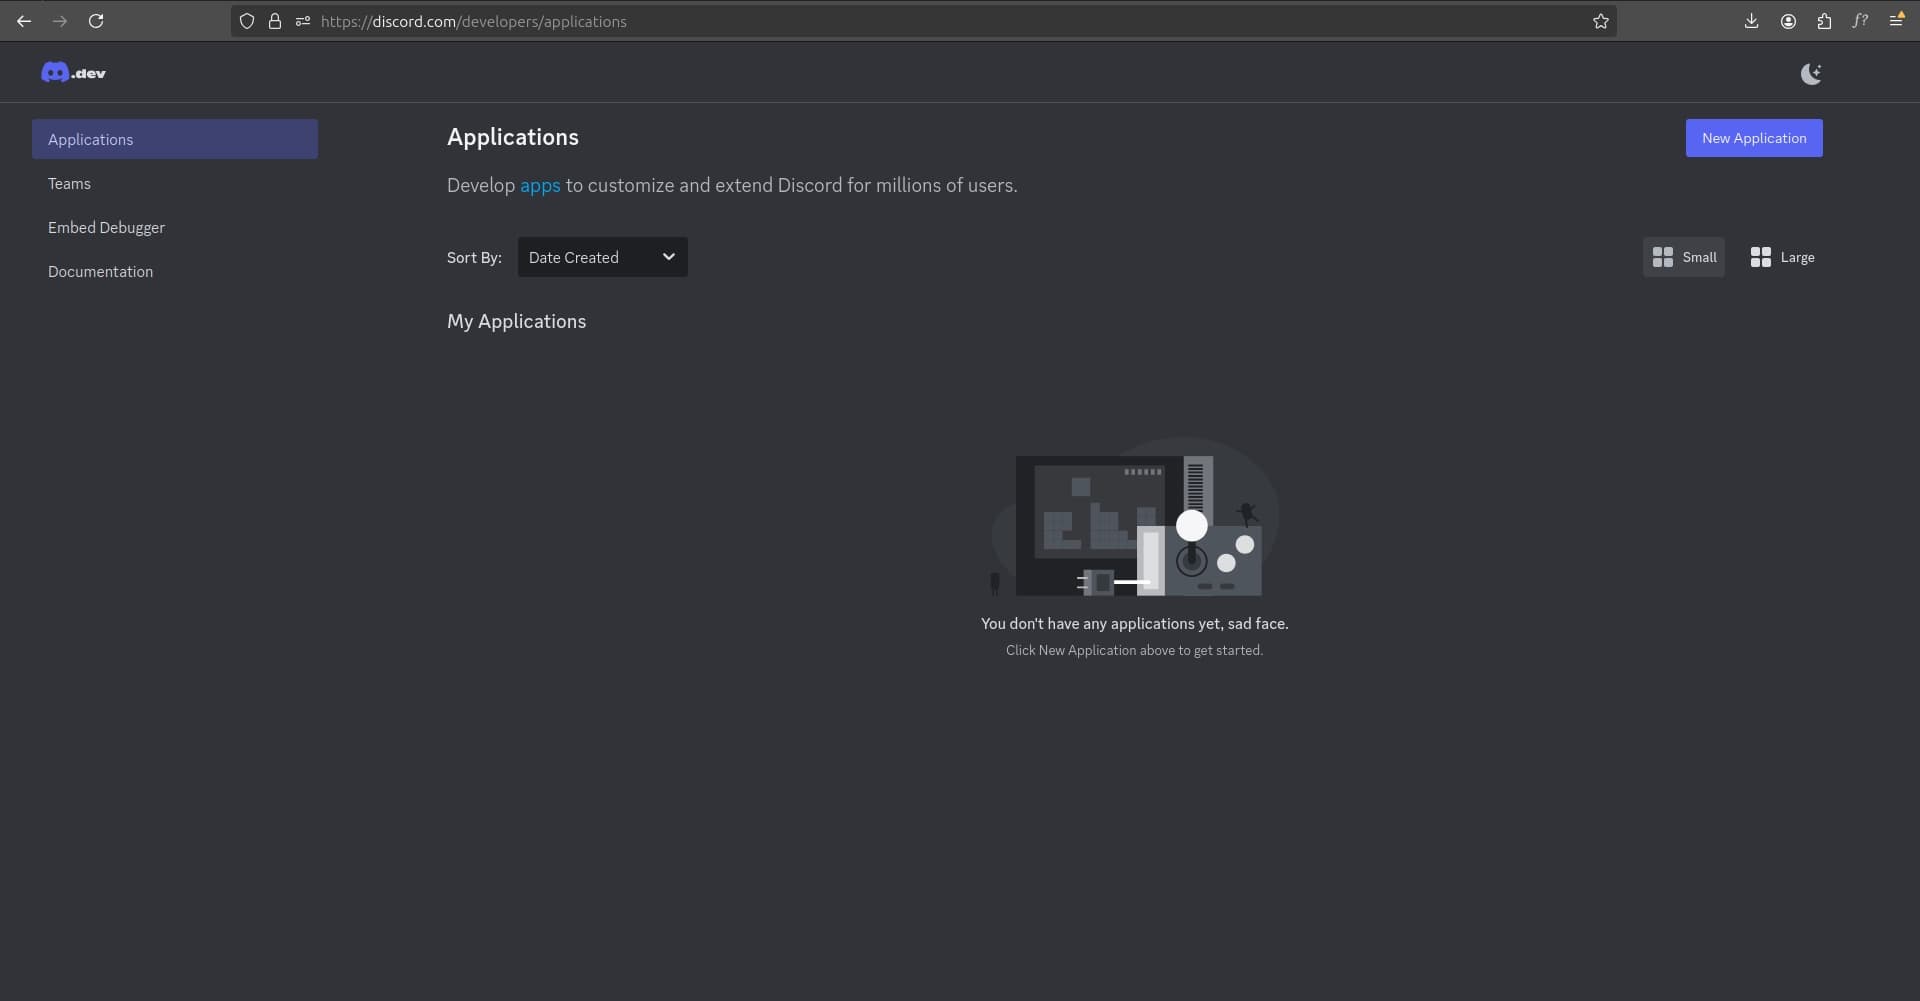
- Go to Discord Developer Portal
- Click on the "New Application" button.
- Give your application a name, like WeatherBot.
- Agree to the policy and click Create.
1.2 Setting Up the Bot
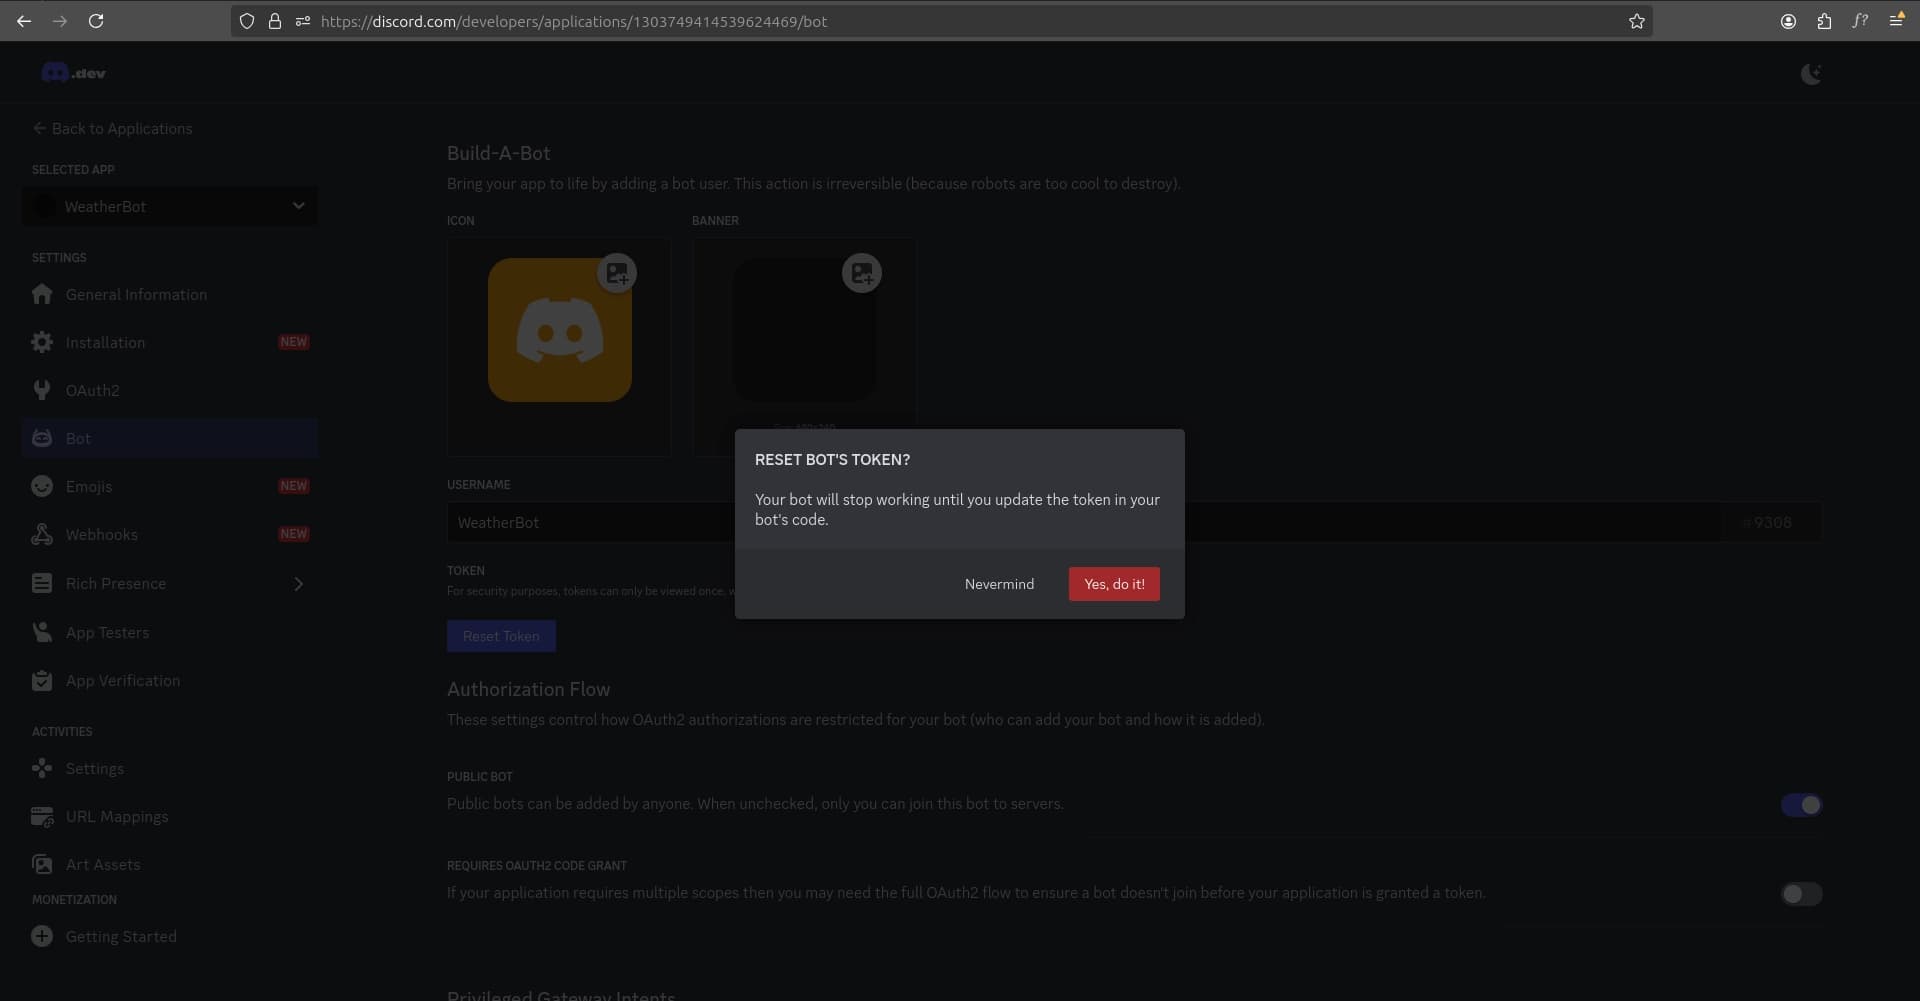
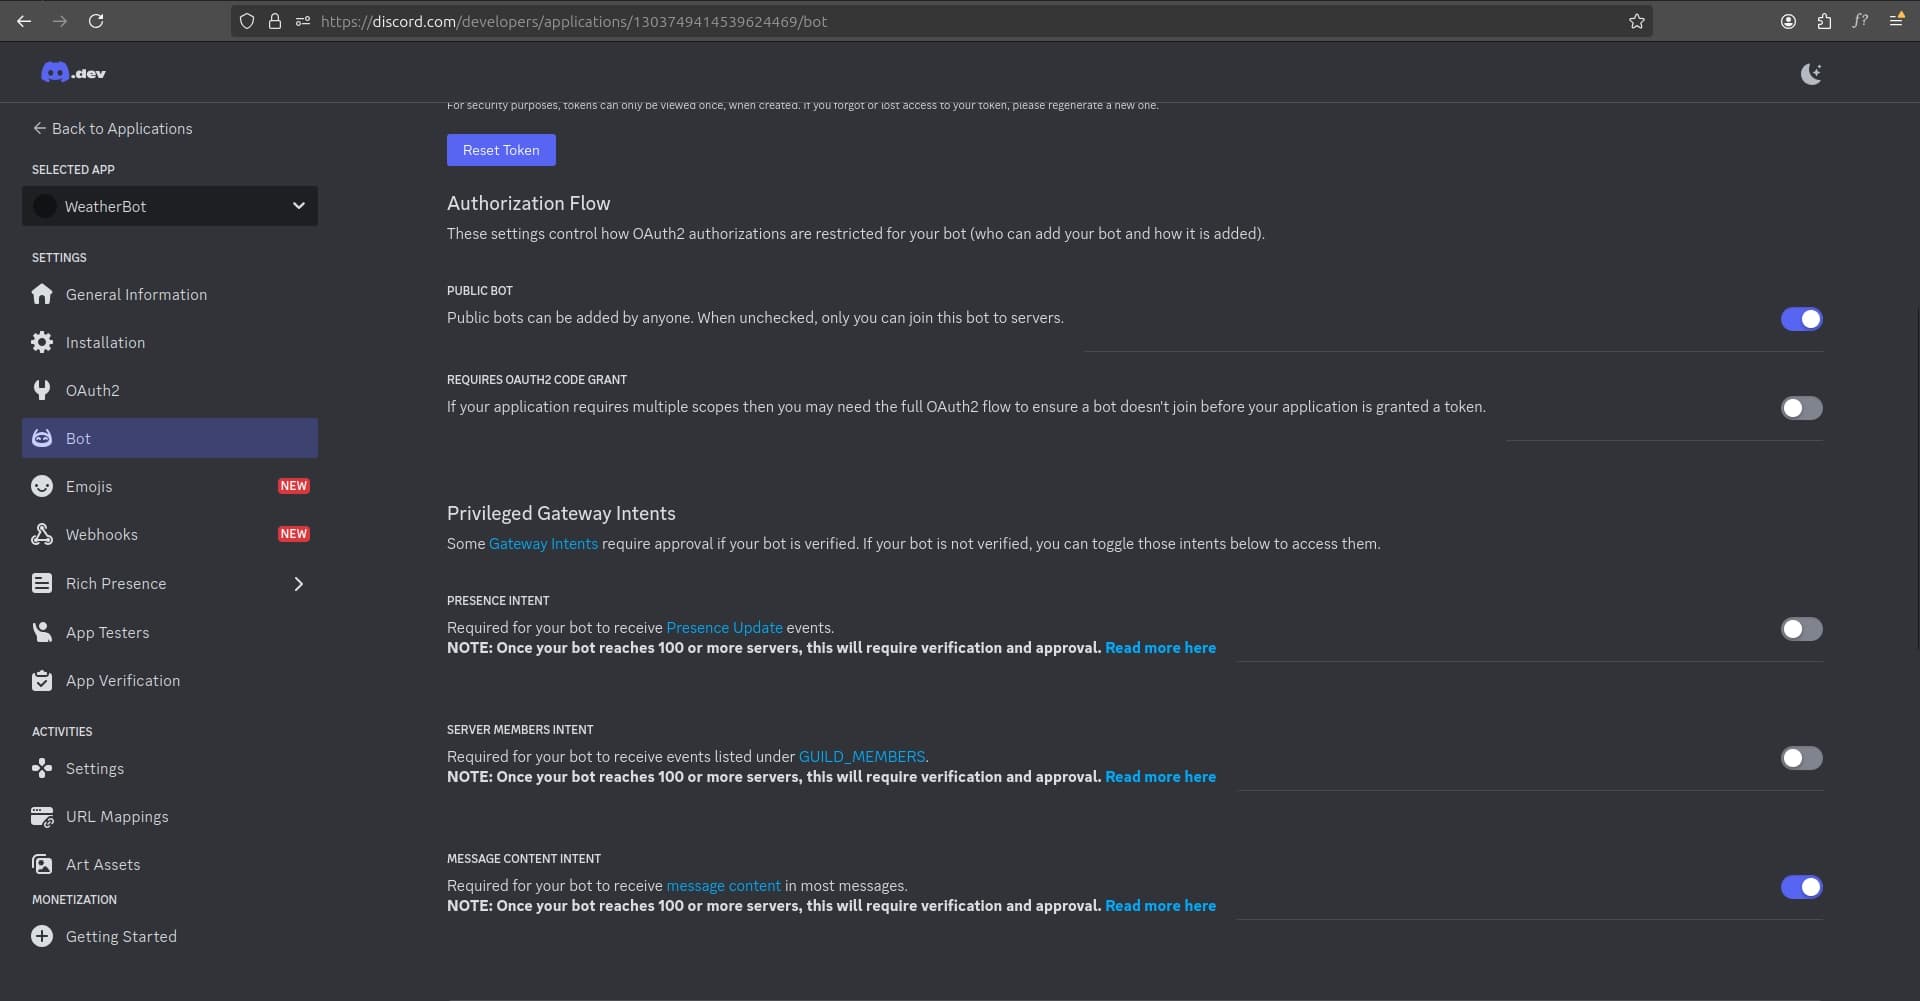
- Navigate to the Bot tab.
- Click Reset Token, copy the token (save it securely; this is your bot's access key).
- Enable Message Content Intent.
1.3 Configuring OAuth2
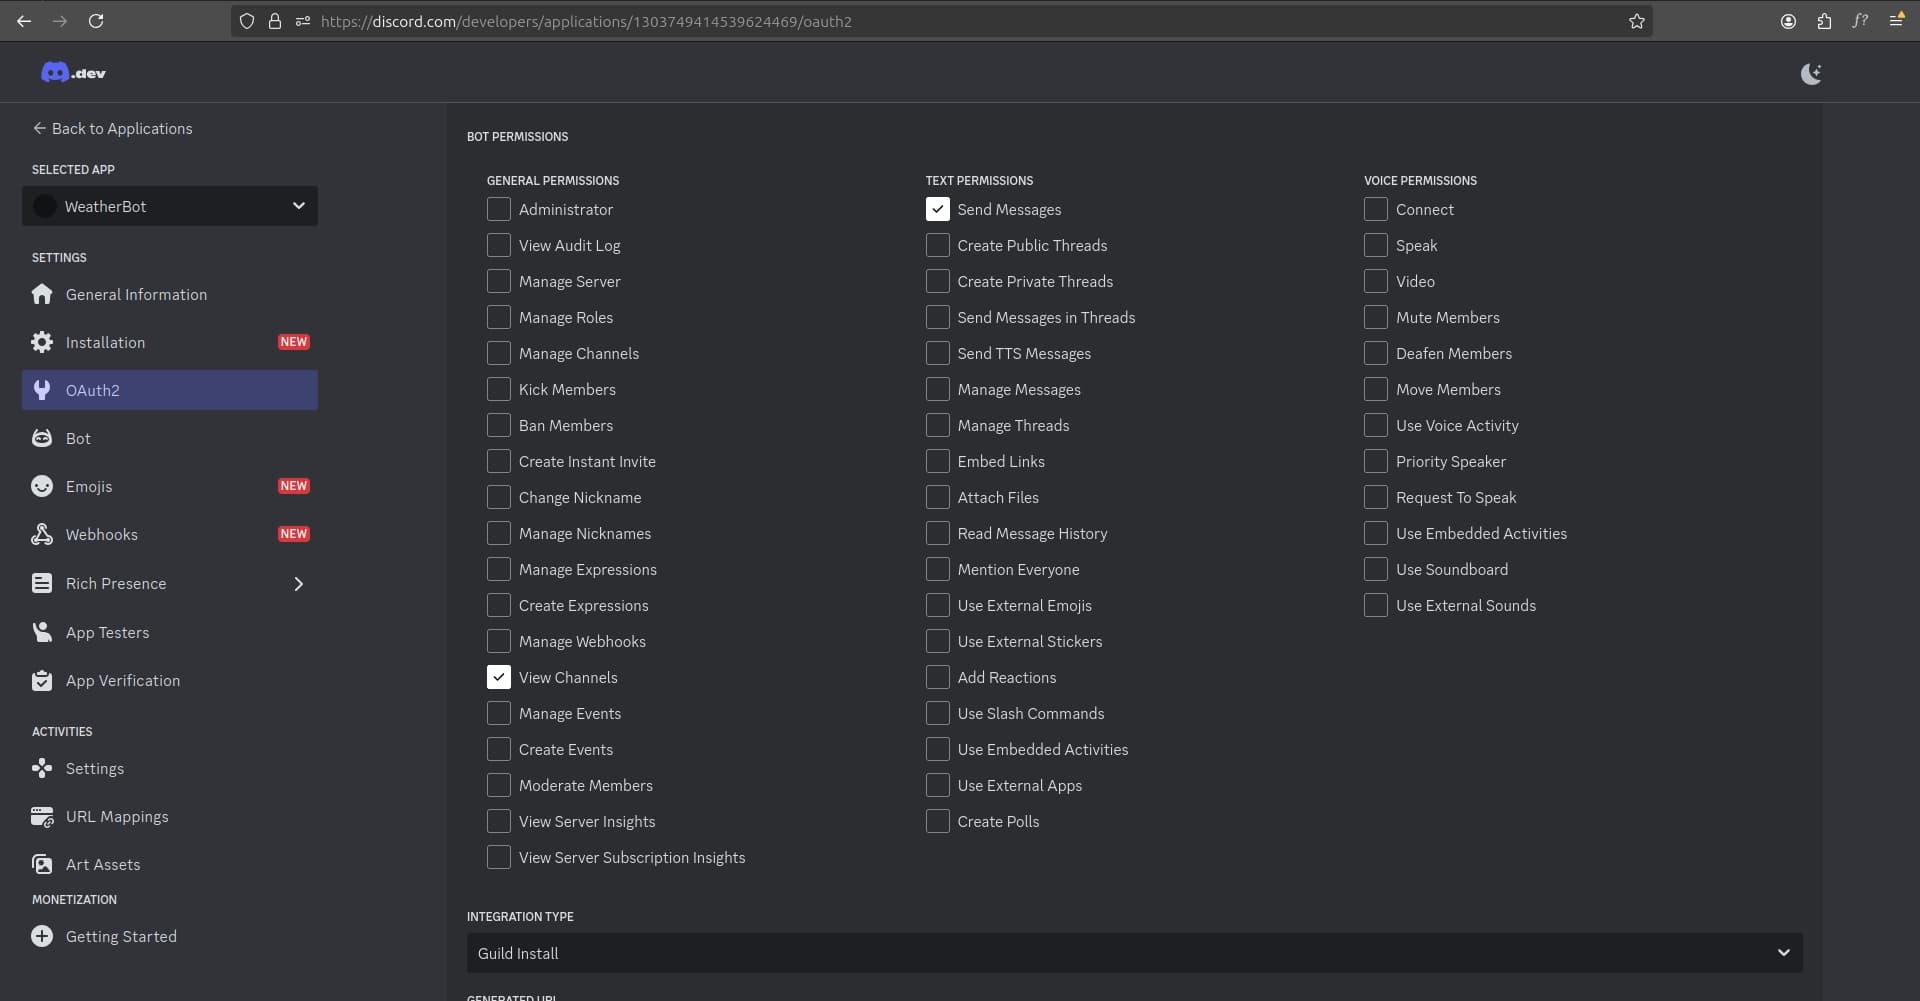
- Navigate to the OAuth2 tab.
- Check bot within the scopes.
- Under Bot Permissions, check at least Send Messages and View Channels.
1.4 Copying the Authorization URL

- Copy the generated URL and open it in a new tab.
1.5 Inviting the Bot to Your Server
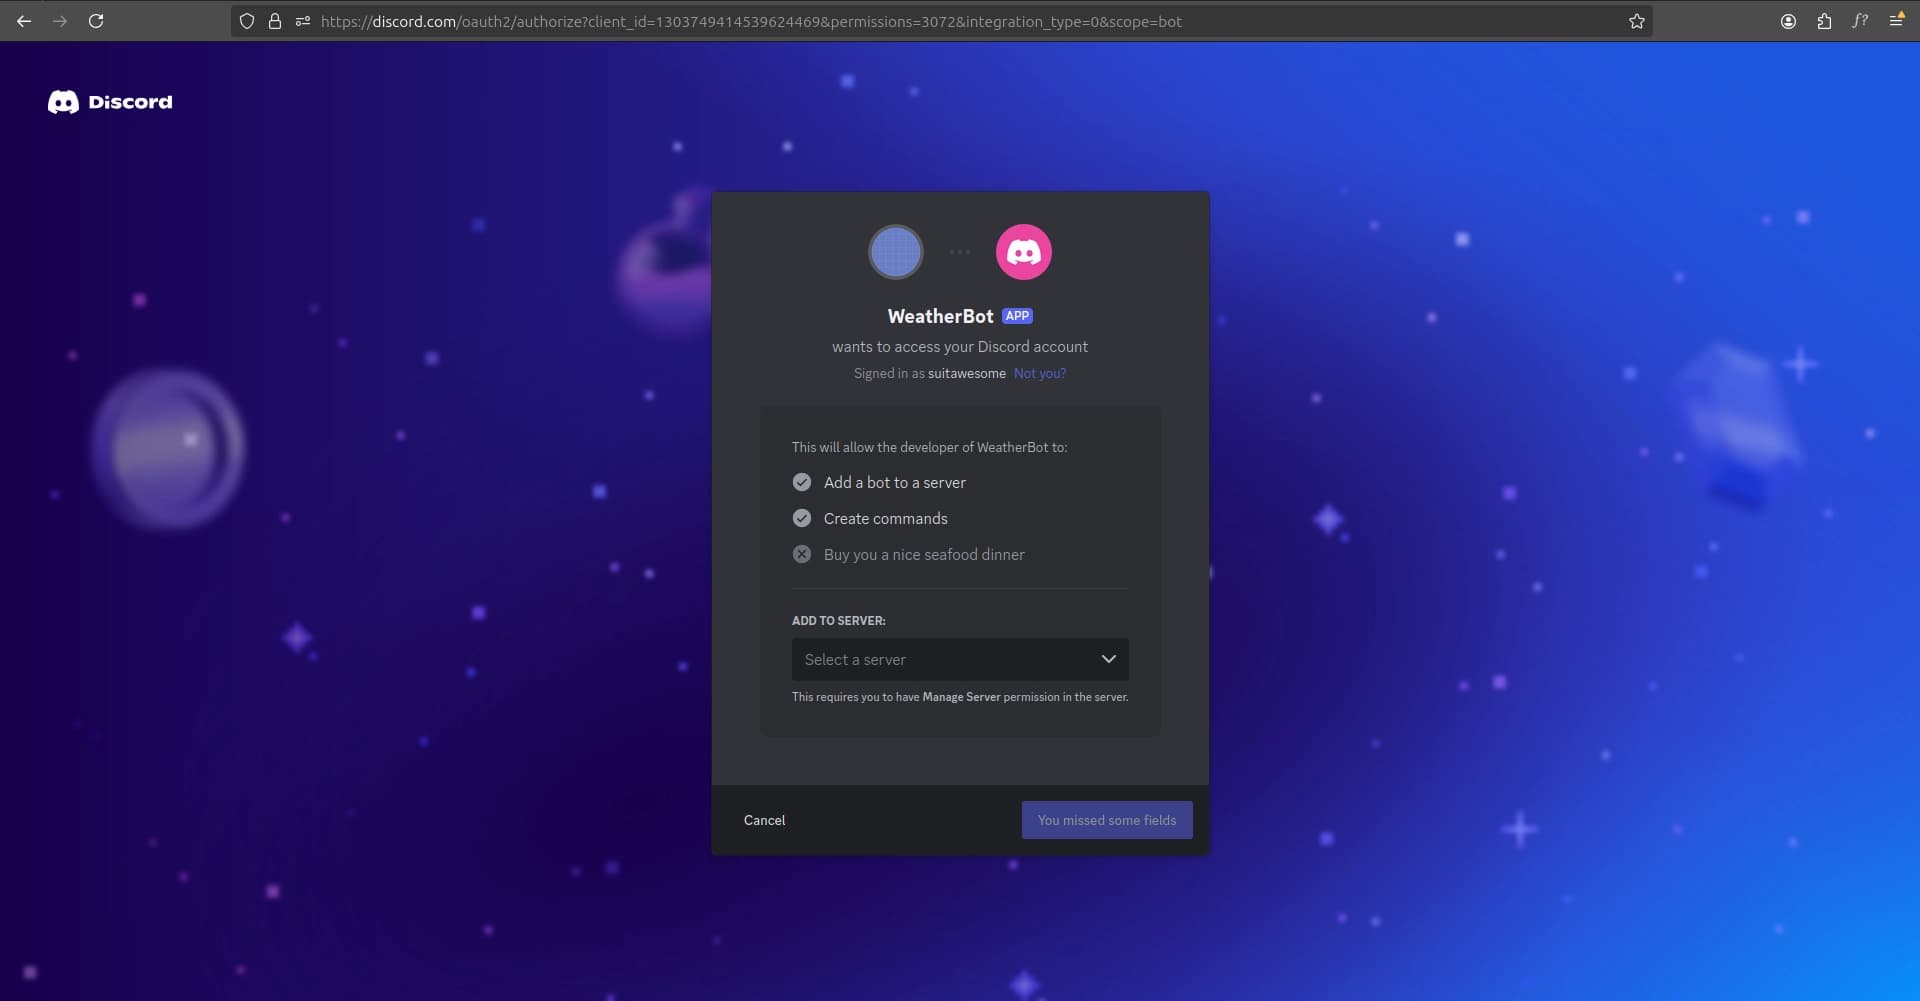
- Paste the copied URL in a browser and invite the bot to your server.
- If you don’t have a server, create one (e.g., My Weather Server).
1.6 Authorizing the Bot
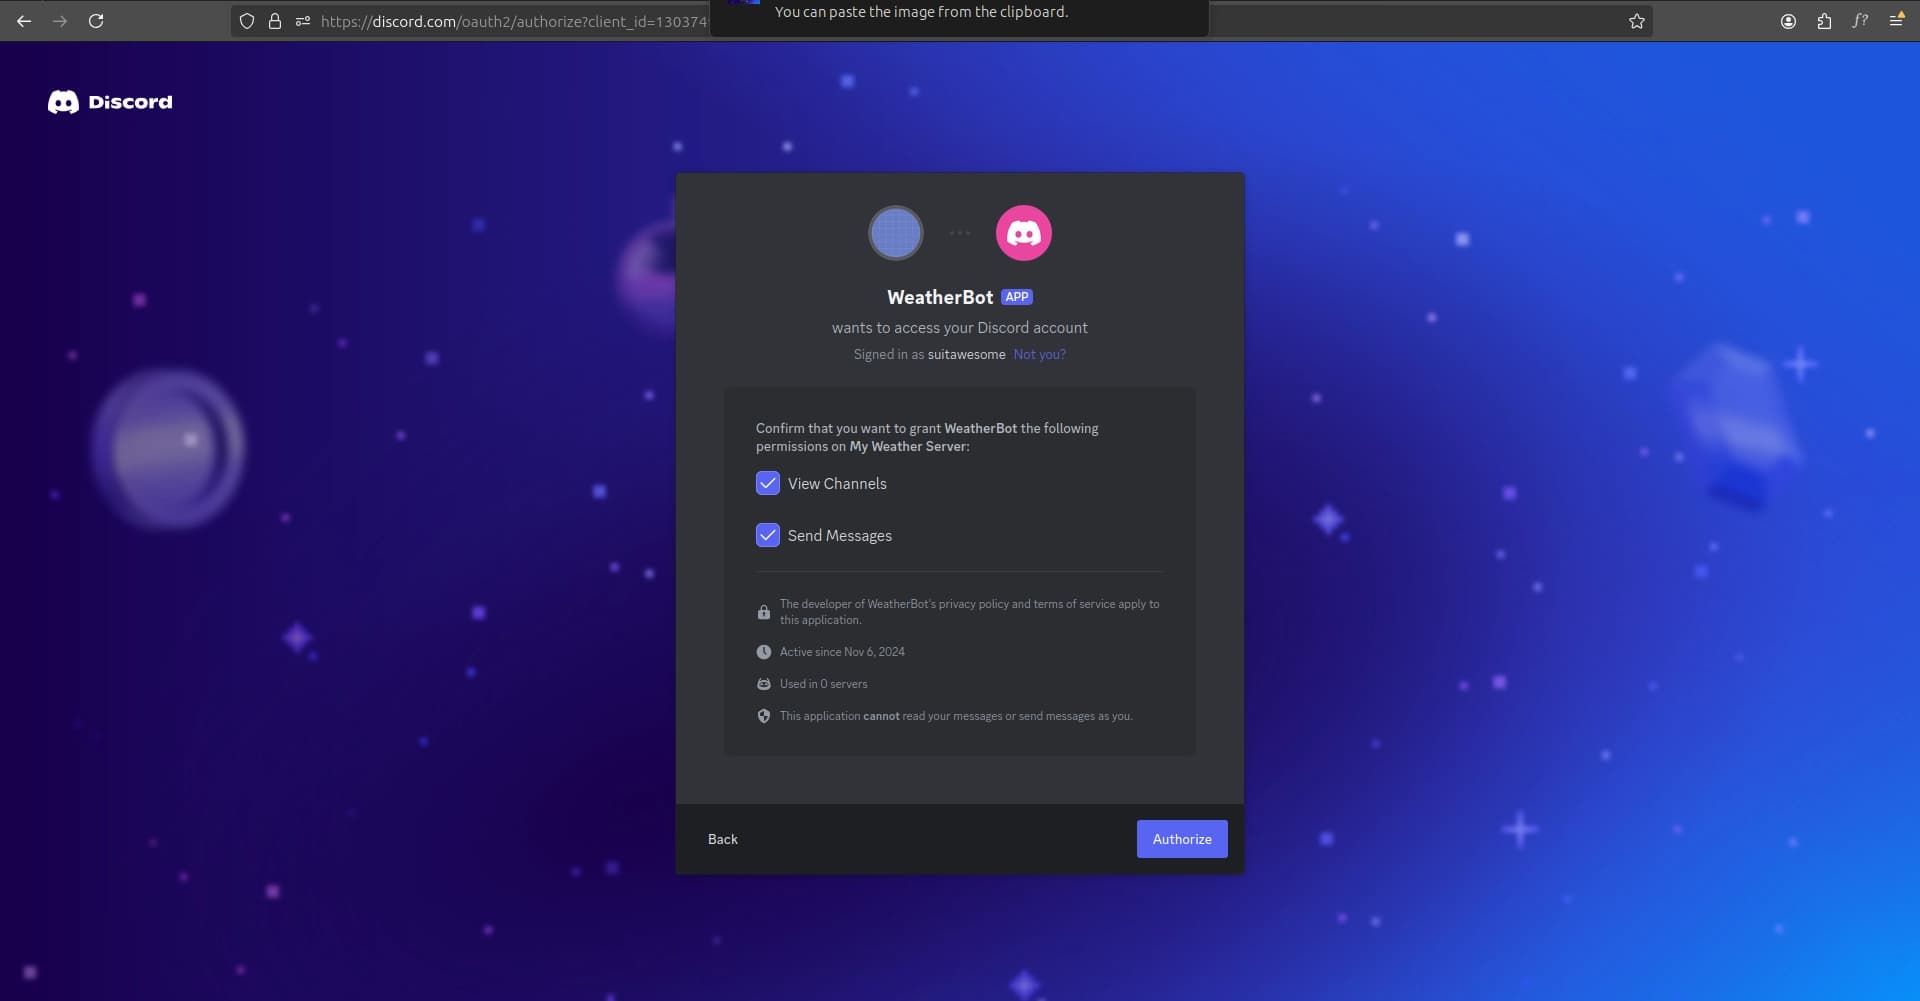
- Complete the authorization process for the bot to gain access to your server.
2. Acquiring an OpenWeatherMap API Key
- Sign up at Open Weather Map
- Navigate to API keys under your profile, and generate a key.
3. Prerequisites
3.1 Setting Up a .env File
Create a .env file in the project directory and add:
DISCORD_TOKEN=your_discord_bot_token_here
OPENWEATHERMAP_API_KEY=your_openweathermap_api_key_here
3.2 Installing Required Dependencies
Run the following command to install necessary libraries:
pip install discord.py requests python-dotenv4. Building the Weather Bot Code
4.1 Importing Required Libraries
import os
import discord
from discord.ext import commands
import requests
from dotenv import load_dotenv
4.2 Loading Environment Variables
load_dotenv()

DISCORD_TOKEN = os.getenv('DISCORD_TOKEN')
OPENWEATHERMAP_API_KEY = os.getenv('OPENWEATHERMAP_API_KEY')
4.3 Setting Up the Discord Bot
intents = discord.Intents.default()
intents.message_content = True
bot = commands.Bot(command_prefix='!', intents=intents)
4.4 Defining the Bot's Ready Event
@bot.event
async def on_ready():
    print(f'{bot.user} has connected to Discord!')
4.5 Creating the Weather Command
@bot.command(name='weather')
async def get_weather(ctx, *, location):
    url = f'http://api.openweathermap.org/data/2.5/weather?q={location}&appid={OPENWEATHERMAP_API_KEY}&units=metric'

    try:
        response = requests.get(url)
        data = response.json()

        if response.status_code == 200:
            temperature = data['main']['temp']
            description = data['weather'][0]['description']
            city = data['name']
            country = data['sys']['country']

            weather_message = f'Current weather in {city}, {country}:\n'
            weather_message += f'Temperature: {temperature}°C\n'
            weather_message += f'Conditions: {description.capitalize()}'

            await ctx.send(weather_message)
        else:
            await ctx.send(f'Error: Unable to fetch weather data for {location}.')

    except Exception as e:
        await ctx.send(f'An error occurred: {str(e)}')
This is the main function that handles the weather command:
- @bot.command(name='weather') registers this function as a command that can be invoked with !weather.
- The function takes two parameters:
- We construct the URL for the OpenWeatherMap API request, including the location and API key.
- The function attempts to fetch data from the API and process the response:
- If successful (status code 200), it extracts relevant weather information and formats a response message.
- If unsuccessful, it sends an error message.
- The weather information or error message is sent back to the Discord channel using ctx.send().
- A try-except block is used to handle any unexpected errors gracefully.
4.6 Run the Bot
bot.run(DISCORD_TOKEN)5. Running the Bot
Run your bot with:
python weather_bot.py6. Using the Bot in Discord
To test the bot, type in any server channel:
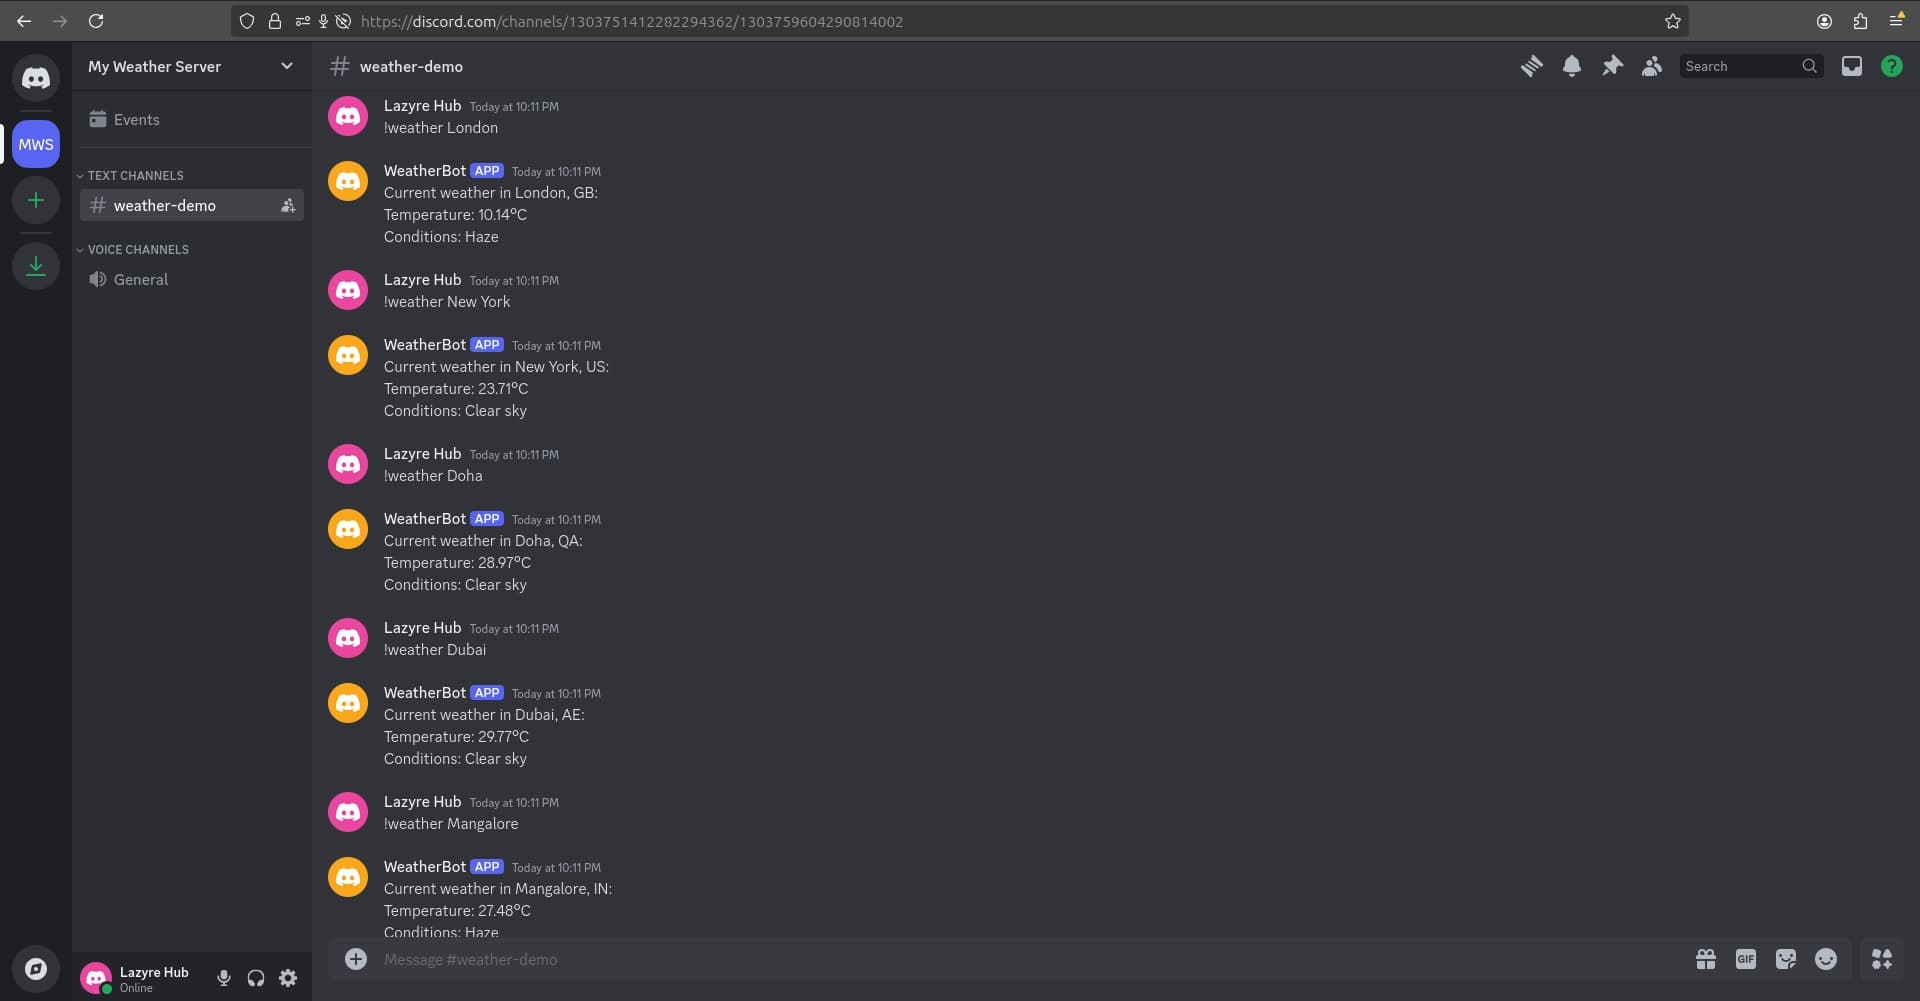
!weather LondonConclusion
You’ve successfully created a simple Discord weather bot. With this foundation, you can expand its functionality and explore other APIs to build more complex bots. In an upcoming blog post, we’ll take it a step further and demonstrate creating an advanced Discord bot with AI capabilities. Stay tuned and keep experimenting to build unique features for your Discord server!